
How to paint a room: a step-by-step guide for beginners
As someone who has painted dozens of rooms in his lifetime, it’s easy to forget that not everyone has the same knowledge when it comes to painting. The first time I ever painted a room, I ended up with more paint on the floor than the actual walls and it looked horrible. For those who are just getting started and need a little helping hand, here is an easy step-by-step guide guide to painting a room.
Choose Your Color And Gloss
It’s important to take your time when choosing your paint color and gloss. A flat green versus a high gloss green can completely change the way a room looks. Flat doesn’t have a shine and the higher gloss you go the shinier the paint.
Painter’s Tape Is Your Best Friend
Buy plenty of tarps and try to cover as much of the floor as possible. No one ever plans on making a mess, but it happens. Secure the tarps down with painter’s tape and cover wall sockets, light switches and baseboards with the tape as well.
You Don’t Need To Many Tools
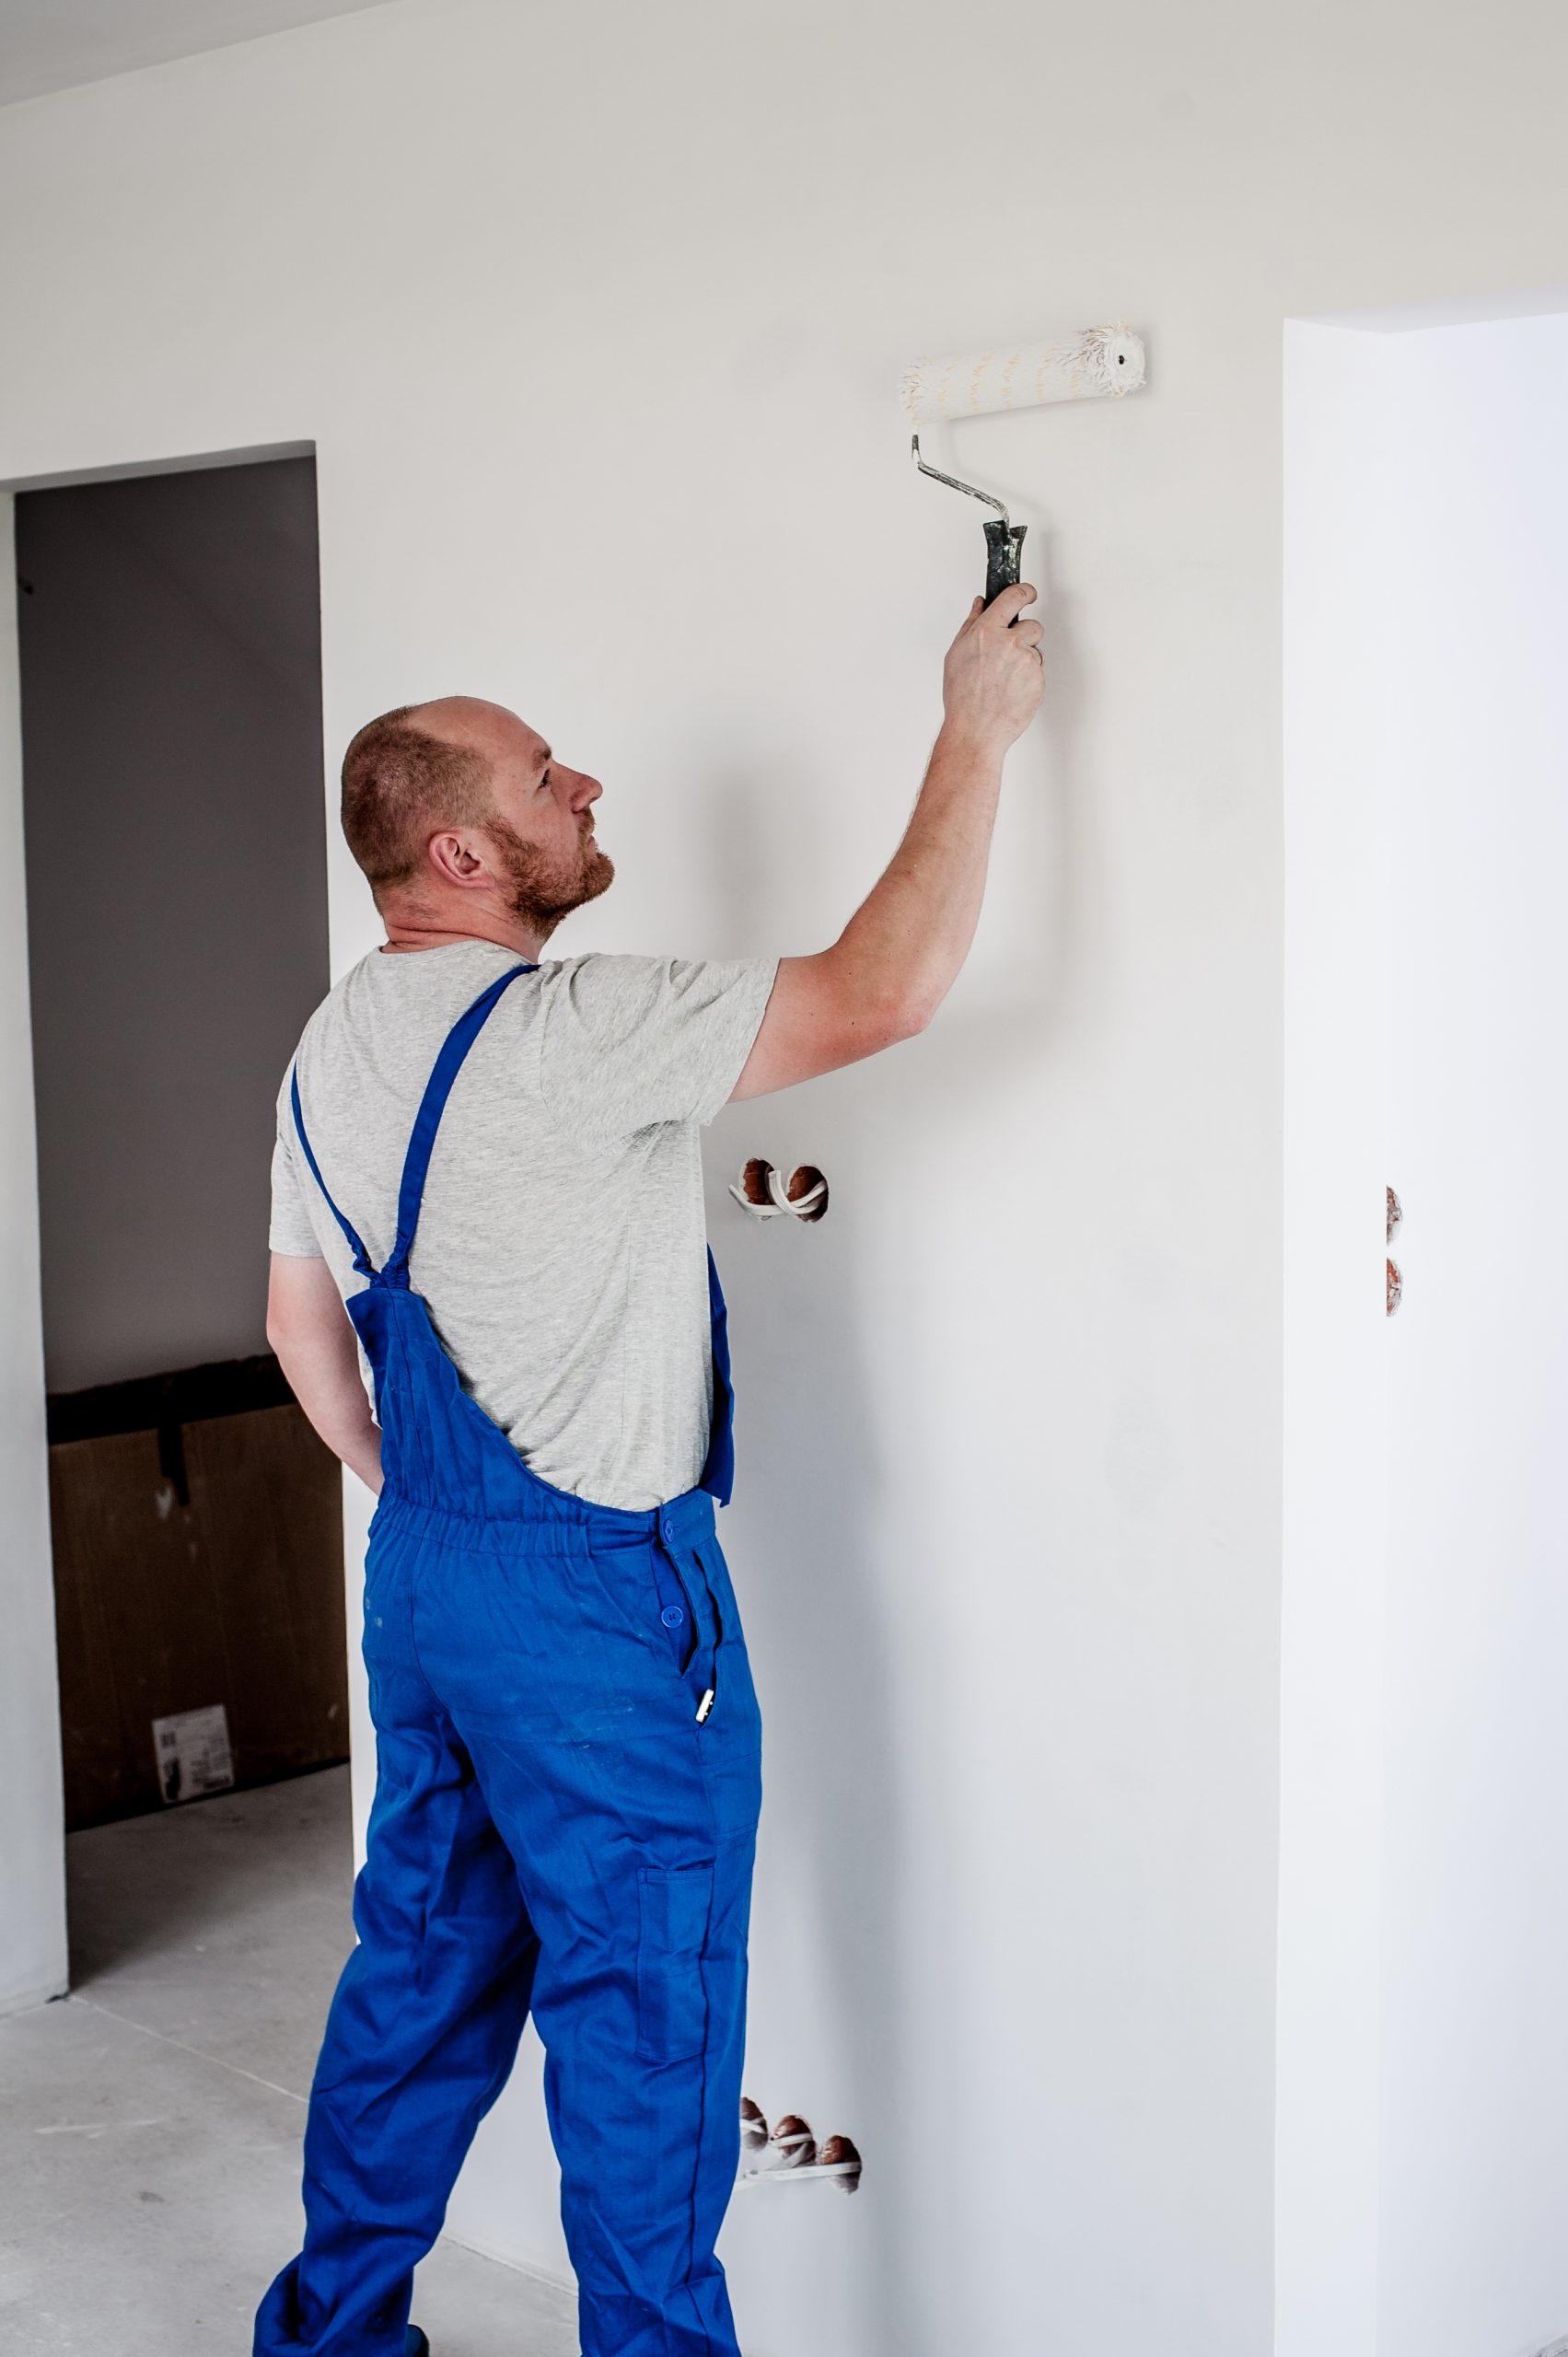
Through the years, I have tried every kind of painter’s tool imaginable to make things easier. I have found that being slow and careful does a much better job that any edger. You really only need a roller, paint pan and a few brushes for detail work.
Don’t Forget The Primer
Before any painting begins, apply at least one layer of primer to help the paint stick and make sure the original wall color doesn’t show through. A few extra coats of primer will save you time and money over 10 coats of paints to cover up that ugly pink.
Dip The Roller In Paint
The important part of painting is that you put everything on evenly. When I first started, I wasn’t satisfied unless the roller was dripping globs of paint. What I got was an uneven paint job and a boatload of paint on the floor. Just put enough to cover it and then gently press it against the wall. Pressing too hard can cause some of the paint to drip out on the wall just like wringing out a wash cloth.
The V Approach
No, I don’t mean the weird lizard people. An old painter taught me many years ago to make a V with the first roller stroke and the roll up and down until the V is covered. He was a seasoned man, so I assumed he knew what he was doing and I have done it that way ever since.
The Detail Work
Leave about an inch or two off the ceiling to make sure your roller doesn’t hit it. The painter’s tape should save everything else. When you’re done painting with the roller, remove the tape and grab your brush. For consistency and an even finish, make sure your brush strokes are in the same direction as when you were painting with the roller. Lastly, don’t forget to get all the areas around the sockets, baseboard and light switches as well.
Congratulations, your room is now painted. You may need to follow up with a second coat (always a good idea) after it dries, but the hardest part is over. Take a good look at the wall after it dries to watch for thin areas, smudges and paint drips. Do some touch up work with the brush as needed.